

What to Do When Dough Sticks to the Inner Walls of Your Dough Mixer?
Jun 22,2026
4
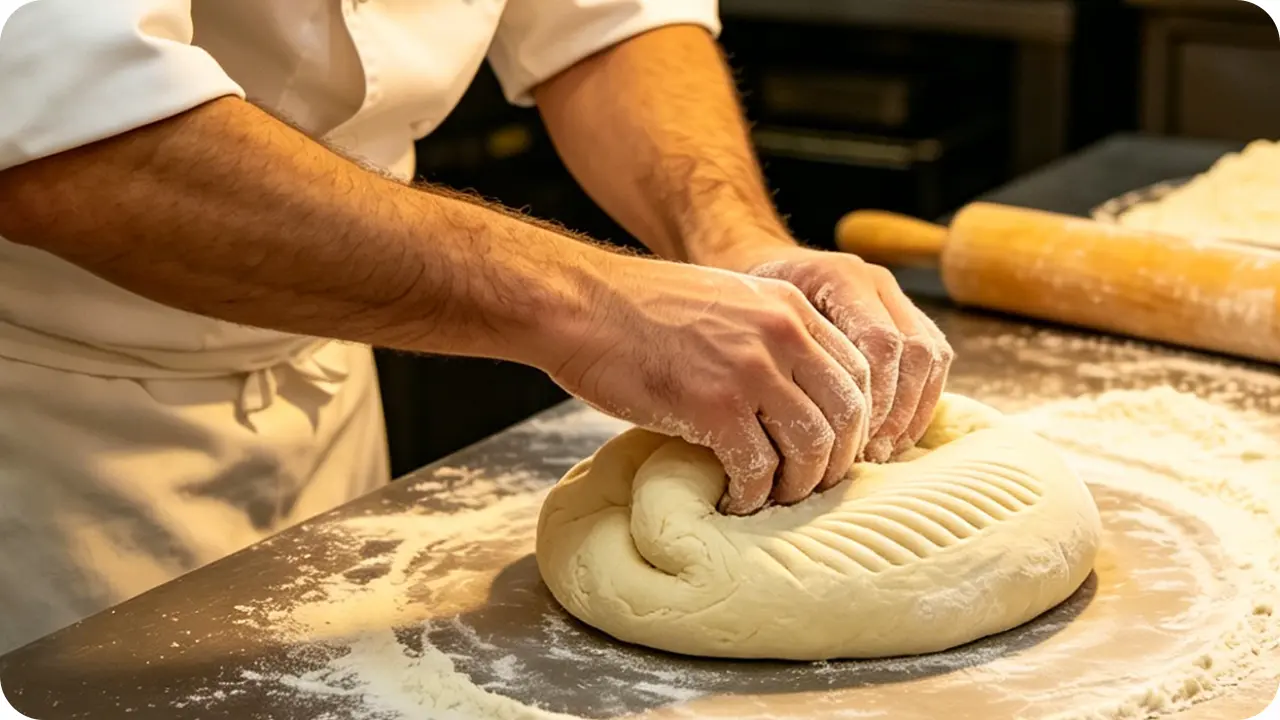
Have you been frustrated by a persistent issue with your new dough mixer? The dough stubbornly clings to the inner walls of the mixing bowl, failing to form a smooth, cohesive mass. This not only hinders gluten development and compromises the texture of the final baked goods, but also takes up a great deal of time to clean up. Worse still, leftover dough residue can easily become a breeding ground for bacteria.
To completely solve the problem of dough sticking to the mixer bowl, you need to master practical emergency fixes, and more importantly, understand the underlying causes so you can prevent the issue right from the start of the mixing process.
Most people’s first instinct is to blame “too much water” for sticking, but in reality, this issue results from a combination of factors. Adding flour blindly will only disrupt the balance of your dough formula. First, there are wide variations in flour water absorption. Flours from different brands and with different protein contents have vastly different water absorption rates: high-gluten flour typically absorbs 60% to 70% of its weight in water, while low-gluten flour only absorbs 50% to 55%. Even the same batch of flour will have different moisture content depending on the humidity of its storage environment; flour absorbs significantly less water during the plum rain season than in dry seasons. If you strictly follow the liquid ratio in a recipe without adjustment, excess moisture will easily lead to sticking.
Second, the order of adding ingredients and the properties of certain additives also contribute to the problem. Many beginners, in pursuit of convenience, dump all ingredients — flour, water, butter, sugar, and salt — into the bowl at once. Fats like butter and high sugar content interfere with the formation of the gluten network, preventing the dough from coming together and leaving it loose and sticky, clinging to the bowl walls. Cold butter cubes, in particular, cannot fully incorporate in the early stages of kneading, making the sticking even worse. Additionally, improper mixing settings and out-of-control dough temperature play a part. If the mixing speed is too low or the kneading time is too short, gluten will not develop sufficiently, and the dough will lack the tension needed to pull away from the bowl walls. On the other hand, when room temperature is too high in summer, the friction from kneading can raise the dough temperature above 28°C, causing the gluten to break down and soften. This makes the dough stick back to the walls, and it will only grow stickier the more you knead. Finally, the condition of the mixing bowl itself matters. Residual grease, dried dough crumbs from previous use, or leftover water droplets on the inner walls will disrupt the dough’s surface balance and make it more prone to sticking.
If severe sticking occurs mid-kneading, there is no need to discard the dough and start over. Following these standard steps will quickly improve the situation. Step one: pause the machine and scrape the bowl with a silicone spatula. Turn off the dough mixer first, then use a heat-resistant silicone spatula to scrape all stuck dough from the sides and bottom corners of the bowl into the center. Do not use a metal spatula, as it can scratch the non-stick coating. After scraping, run the mixer at medium speed for 1 to 2 minutes and observe the dough. As gluten gradually develops, the dough will come together and naturally pull away from the bowl walls.
Step two: add dry flour in small, incremental amounts. If sticking persists after scraping, you can add small portions of the same type of high-gluten flour, only 5 to 8 grams each time, sprinkling it evenly along the bowl walls. Run the mixer to incorporate the flour fully before deciding whether to add more. Never pour in a large amount of flour all at once, as this will make the dough overly firm, resulting in bread with a coarse crumb and dry texture. Step three: adjust the mixing speed and control the dough temperature. Sticking in the early kneading stage is normal; simply run the mixer at medium speed for 3 to 5 minutes, and the dough will release from the walls once gluten has formed. If sticking occurs later in the process due to high dough temperature in summer, pause the machine, cover the mixing bowl with plastic wrap, and refrigerate it for 10 minutes. Once cooled, the dough will regain its gluten structure, and the sticking will be significantly relieved.
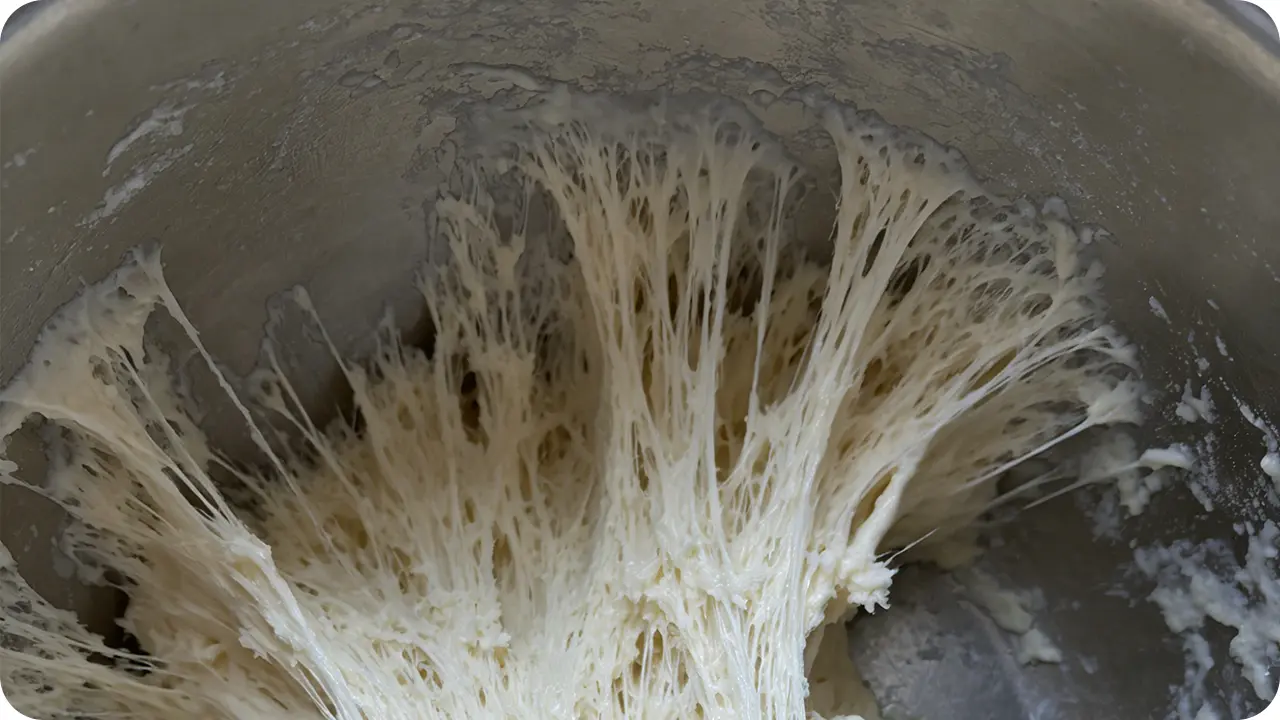
To fundamentally prevent sticking, the key is to maintain control at every stage of kneading, ensuring proper gluten development and sufficient dough tension. First, strictly follow the correct ingredient order. The proper sequence is: pour in liquid ingredients (ice water, milk, egg liquid) first, add sugar and salt and stir until dissolved, then add all the flour. Finally, make a small well in the top of the flour and add the dry yeast, to prevent the yeast from coming into direct contact with salt and sugar and losing activity. Knead on low speed until no dry flour remains, then switch to medium speed until the dough is smooth and can stretch into a thick membrane. At this point, add the softened butter, knead on low speed until the butter is fully absorbed, then return to medium speed until a thin, elastic membrane forms. This sequence allows a stable gluten network to form first, so adding fat later will not cause the dough to become loose and sticky.
Second, precisely control the flour-to-liquid ratio and set aside a portion of liquid for adjustment. When beginners follow a recipe, they should not add all the liquid at once. Reserve 5% to 10% of the liquid first, then gradually add the rest after kneading to a no-dry-flour state, based on the firmness of the dough. You can also test your flour’s water absorption in advance: take 100 grams of flour and add water gradually until a smooth, non-sticky dough forms. Record the water amount and adjust your recipe proportionally later. Third, control both the dough temperature and the ambient temperature. For summer kneading, chill the flour and liquid in the refrigerator beforehand, and you can even freeze the mixing bowl for 15 minutes ahead of time. Keep the dough temperature between 24°C and 26°C throughout the process to prevent gluten breakdown from high heat. In winter, use warm water around 30°C for kneading to promote gluten development and shorten the initial sticking phase.
Cleaning and maintenance after kneading are equally important. Do not rinse the bowl with water immediately, as wet batter will seep into more crevices. First, use a plastic scraper to remove large chunks of dough from the bowl walls and the dough hook, then wipe the inner walls with a warm, damp cloth. Tiny leftover dough crumbs can be rubbed away with a handful of dry flour. Never scrub with steel wool or stiff-bristled brushes, as they will damage the non-stick coating and make sticking even worse in future use. For caked-on dough residue, soak the bowl in warm water for 10 minutes before wiping. After cleaning, dry the bowl thoroughly and store it upside down to prevent mold growth.
Dough sticking to the mixer bowl is by no means an unsolvable problem; it is essentially a direct reflection of your dough’s condition. From quick emergency fixes, to standardized practices for ingredient addition and temperature control, to daily equipment maintenance, every detail determines how smoothly your kneading goes and the quality of your final baked goods. Mastering these methods will not only free you from the hassle of sticky dough, but also help you gain precise control over dough condition.
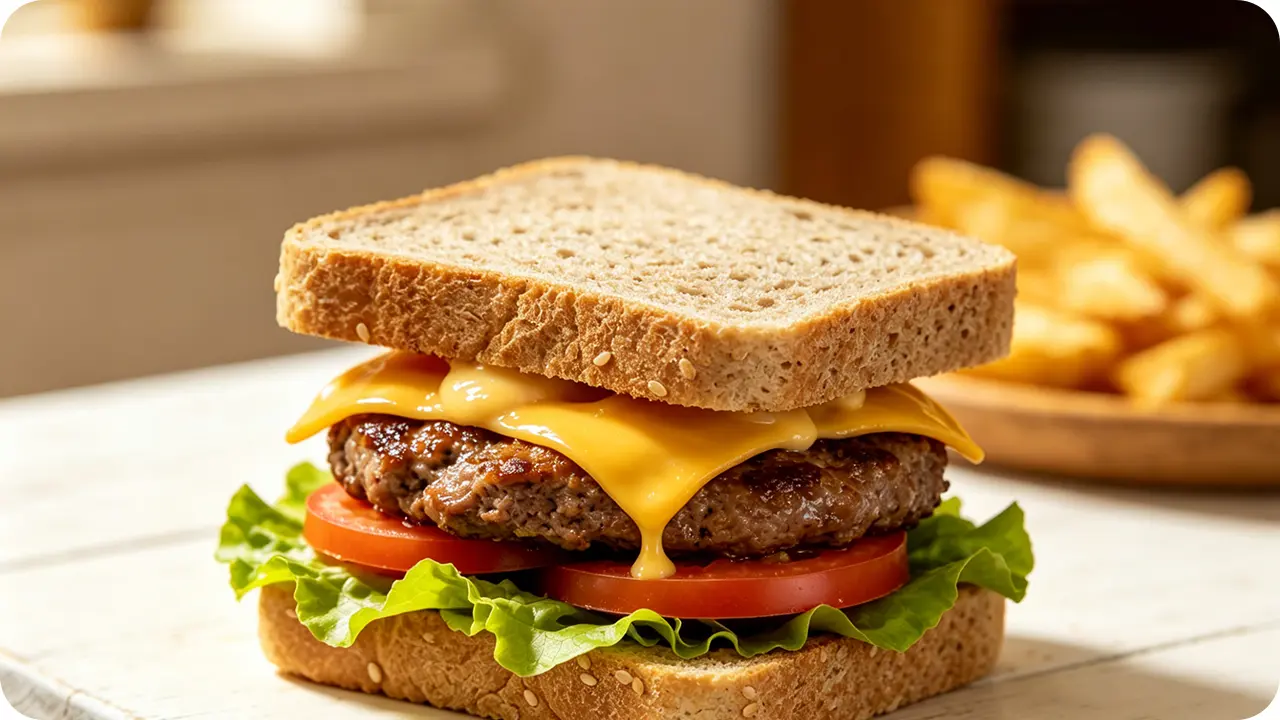
Mastering these methods will not only eliminate the trouble of dough sticking to the bowl, but also allow you to precisely control the dough condition. Every kneading session will yield smooth and pliable dough, resulting in better finished hamburgers.
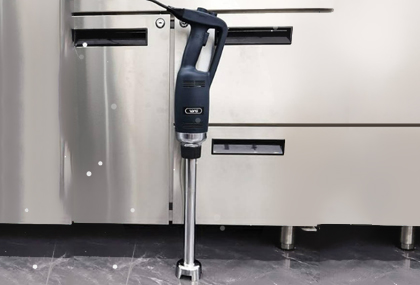
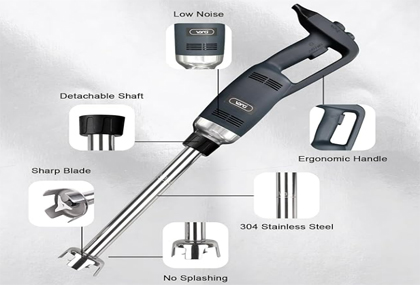
Tip: Mastering the proper use of a dough kneading machine is essential if you want to boost efficiency and make high-quality baked goods.
